Absolute Steel’s metal carport kits are specifically designed and manufactured for the do it yourselfer. With each metal carport kit, we include written step-by-step installation instructions that are easy to follow and the assembly requires only a few basic tools.
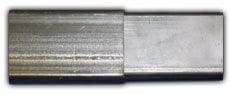
Slip-Joint Connections make assembly easy!
Always a smoother, stronger connection!
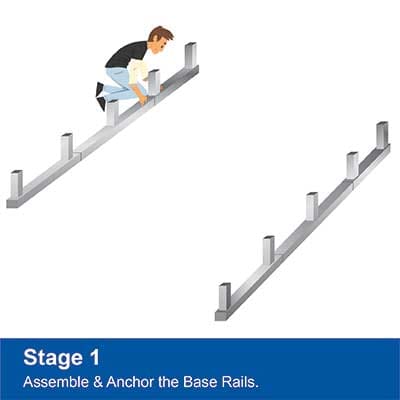
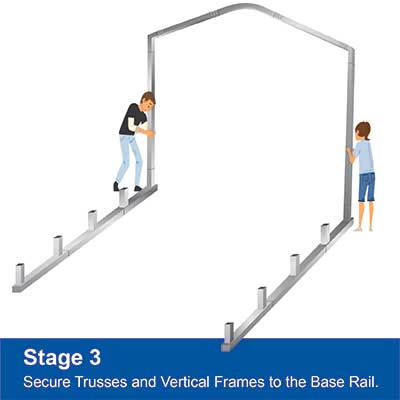
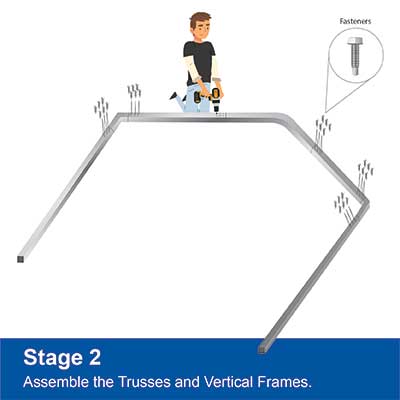
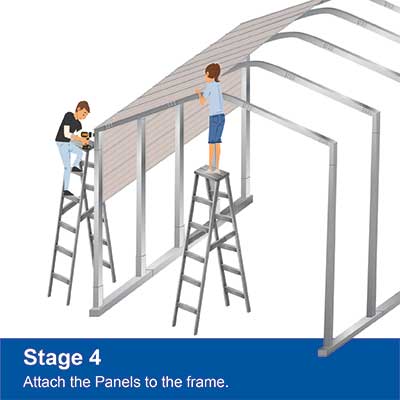
Overview of Installing a Carport:
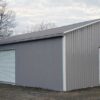
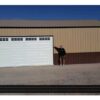
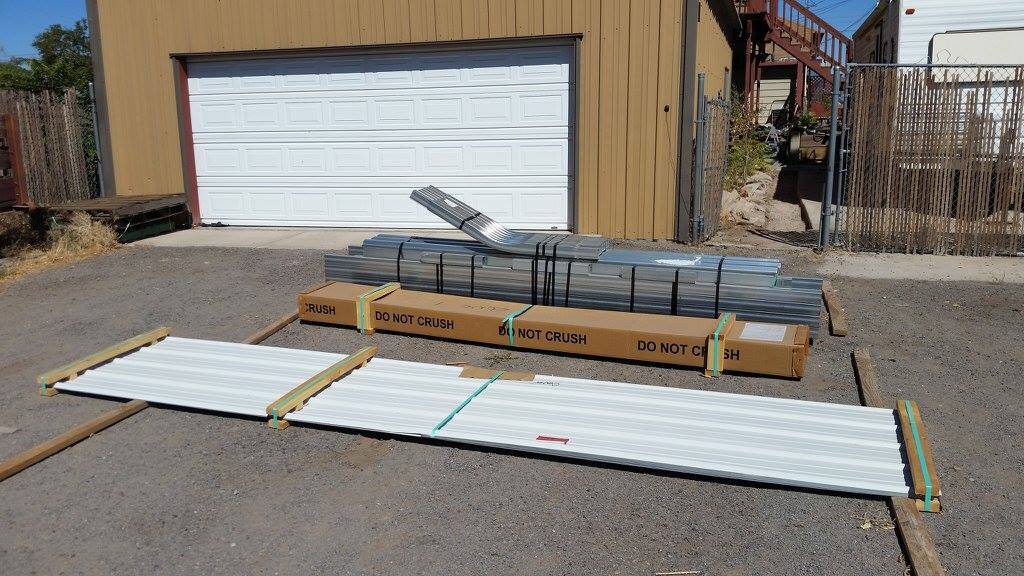
Kevin’s DIY Mohave Carport Project
Kevin, an Absolute Steel customer, documented his carport installation with comments. He posted them in his Flickr gallery, and some of those images can be viewed by clicking the image below. Note that this installation was based on his unique circumstances and this may not be the same steps required in your case. This is for reference only.
+ 29
Site Preparation – for information on site preparation, click here.