If you are considering adding covered parking to your existing apartment, office, industrial, or even private property, now is the time. It’s a proven fact that offering covered parking increases rental retention rates and increases your ROI. Covered parking is affordable, and easy to install on your property. Yes – easy to install. Installation of a cantilever system is not much harder than building a fence. See below for an overview on how easy installation of a cantilever carport system is.
How to Install a Cantilever Carport System for an Existing Property (new construction too)
Steps covered below are:
- Lay out your materials where you plan to install each kit.
- Caissons / footers placement.
- Installing the columns.
- Installing the frame and roof paneling.
The installation of a full cantilever system is nearly identical to that of the semi cantilever system. The below is an example using a semi cantilever system. Here is product info on these systems: https://www.absoluterv.com/carport-kits-commercial/semi-cantilever-system/. The project below was installed by a local contractor hired by the apartment owners. All cantilever systems are relatively easy to install. The most important part is making sure the columns are lined up. 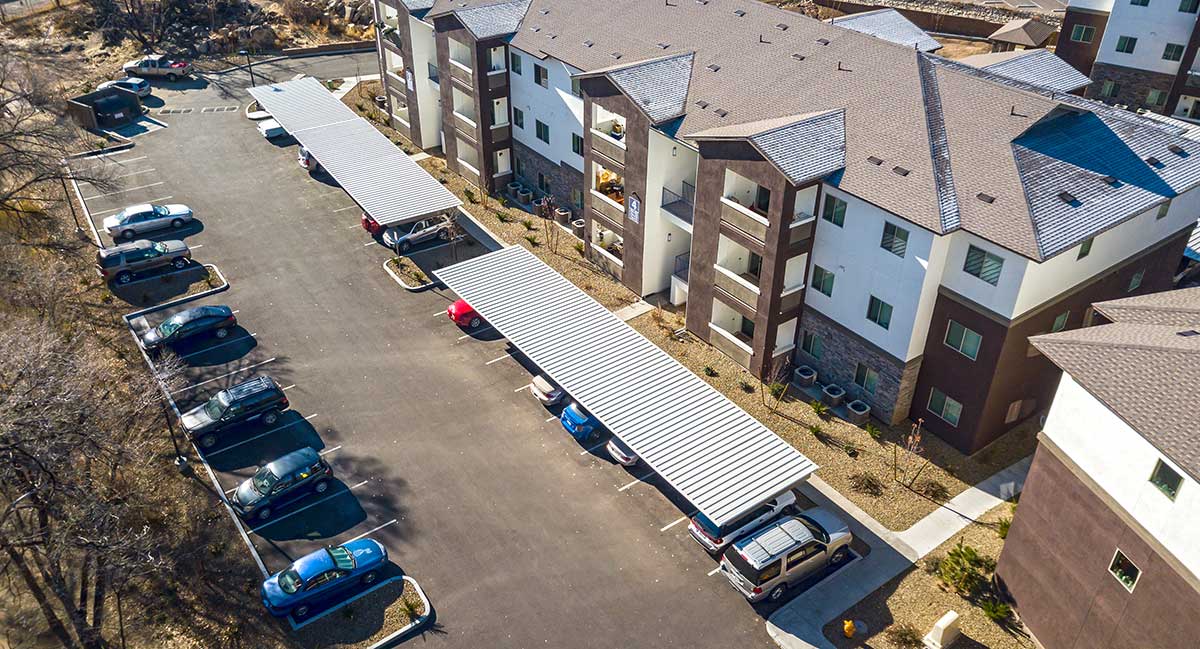
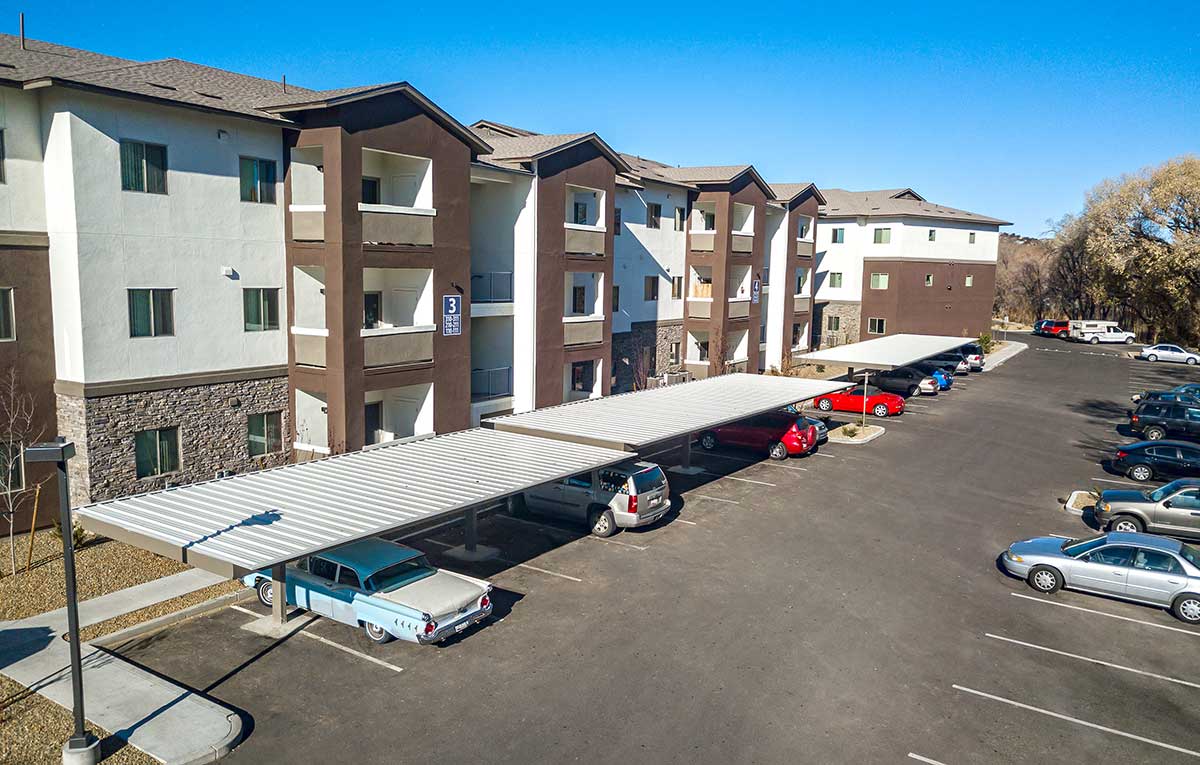
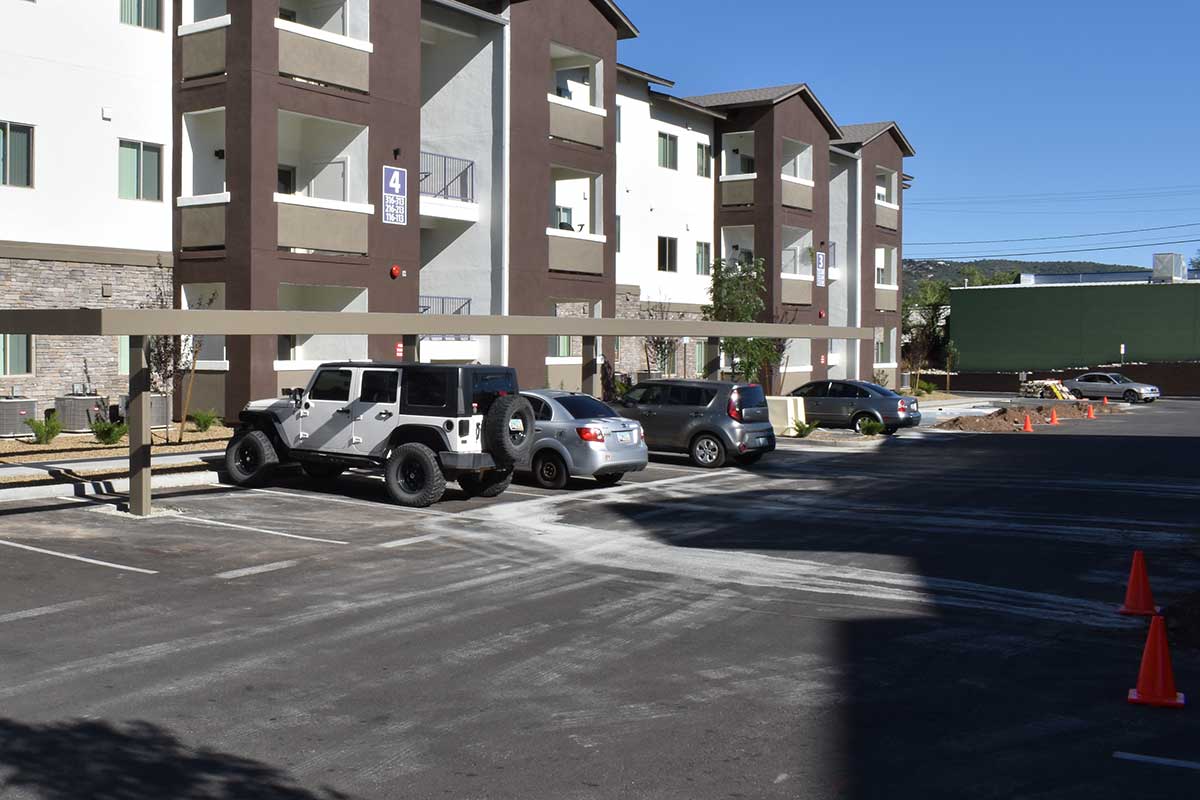
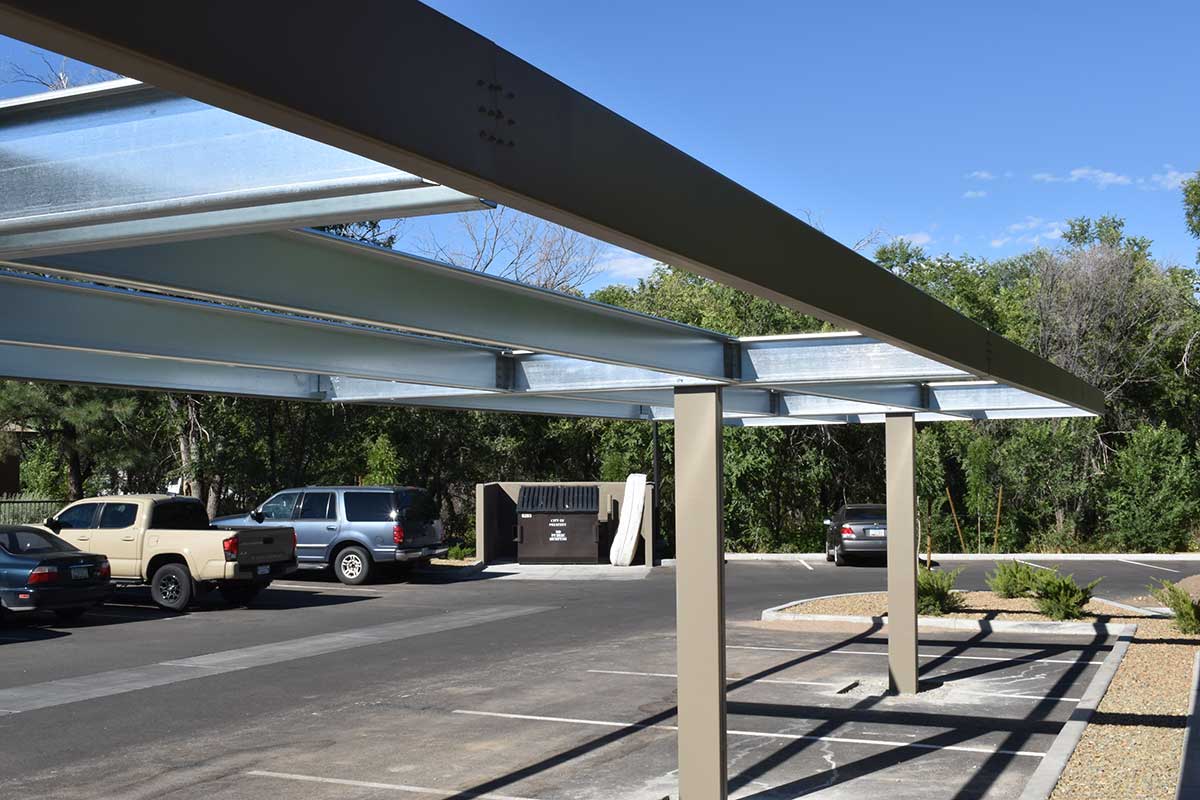
- Carports can be ordered in most any configuration from 2 spaces to 100 or more. In the above photo you can see three separate cantilever kits installed here. There is an 8-space kit nearest. A six-space kit second from front, and a 4-space kit in the back. The 4 and 6 space kits are built adjacent to one another and allow for sloping of the ground.
- In the case above, this property needed to cover 10 spaces in a row, at two different elevations, so they opted for a 4 and 6 space option.
- The picture below is taken at that spot where the 4 and 6 space covers meet in the picture above. Note where the frames change elevation. The 4 space spot is closer to the camera.
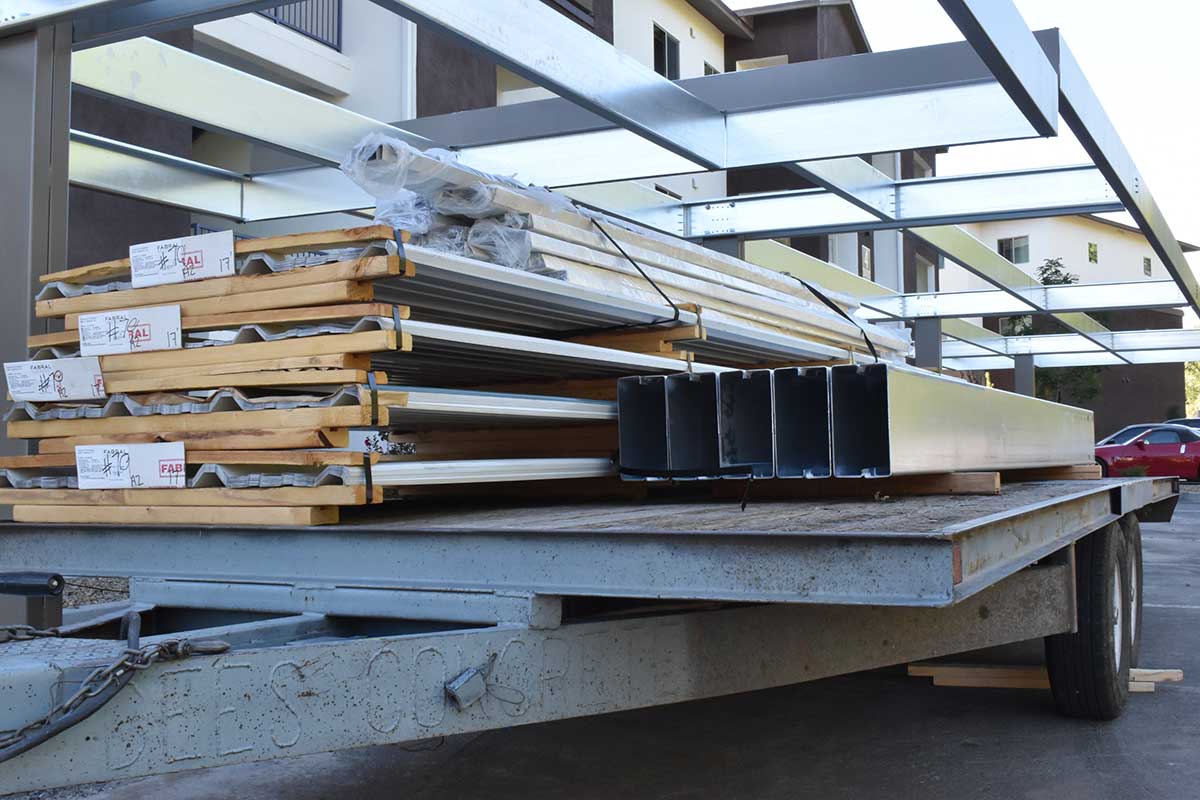
- Cantilever systems are always shipped to the jobsite. You must have a lifting device onsite.
- Each kit has all frame parts measured and cut for quick installation. This includes the panel lengths except around odd or special onsite places.
 Picture of a kit on a trailer.
 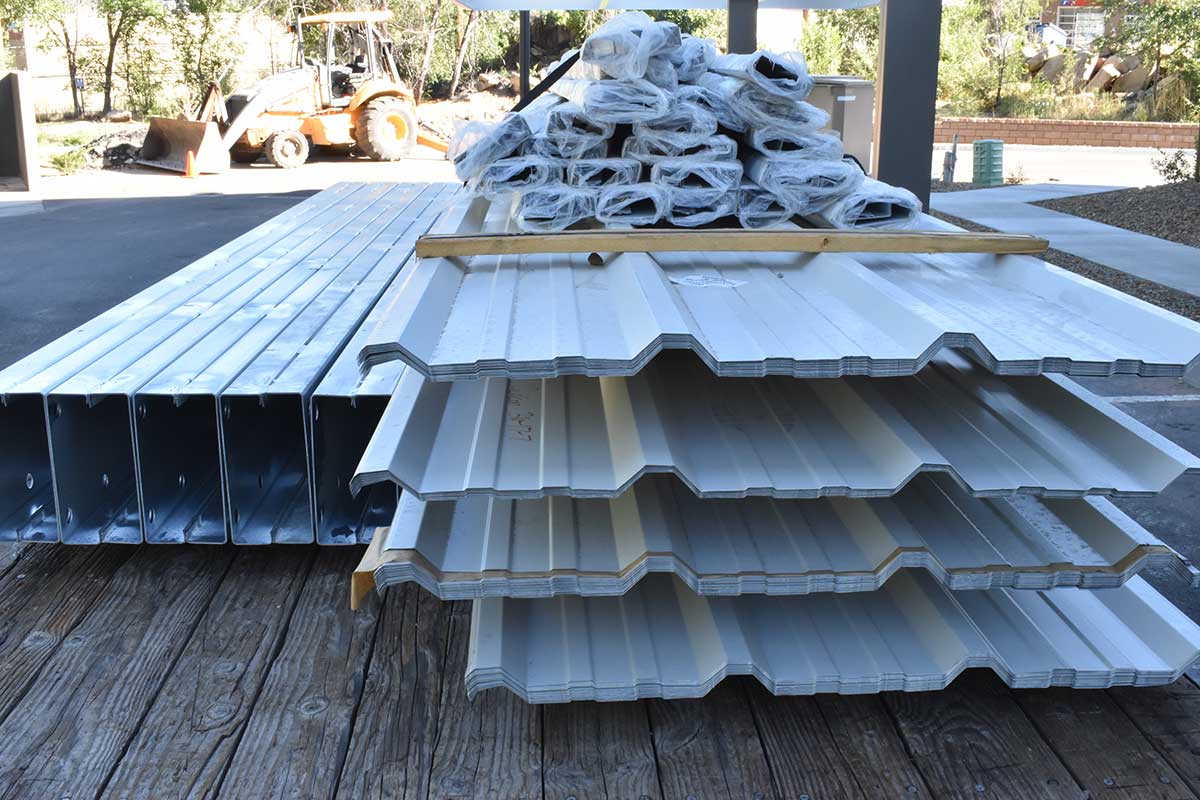 Kit on a trailer.
Step 1: Lay Out Your Materials….
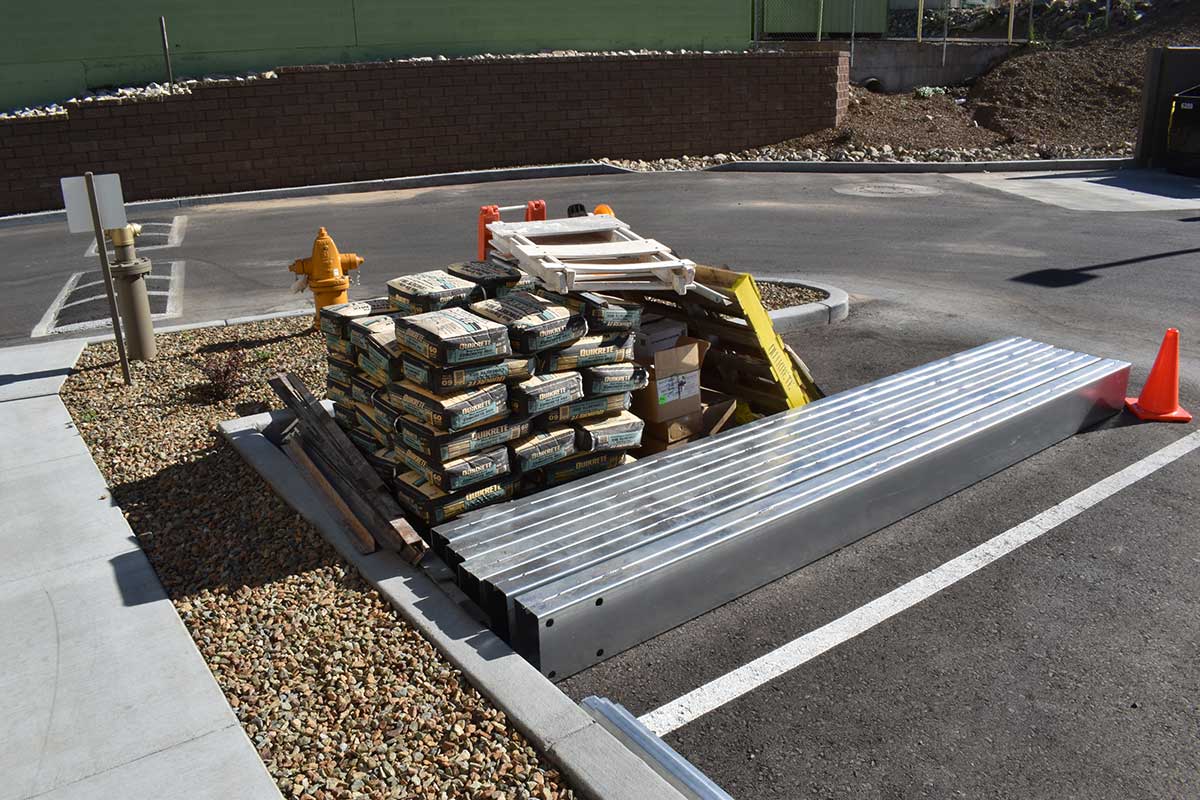 Lay out your frame and installation materials near where the kit will be installed.
  Picture of the columns. These are the vertical supports that go from the ground to the upper part of the structure.
 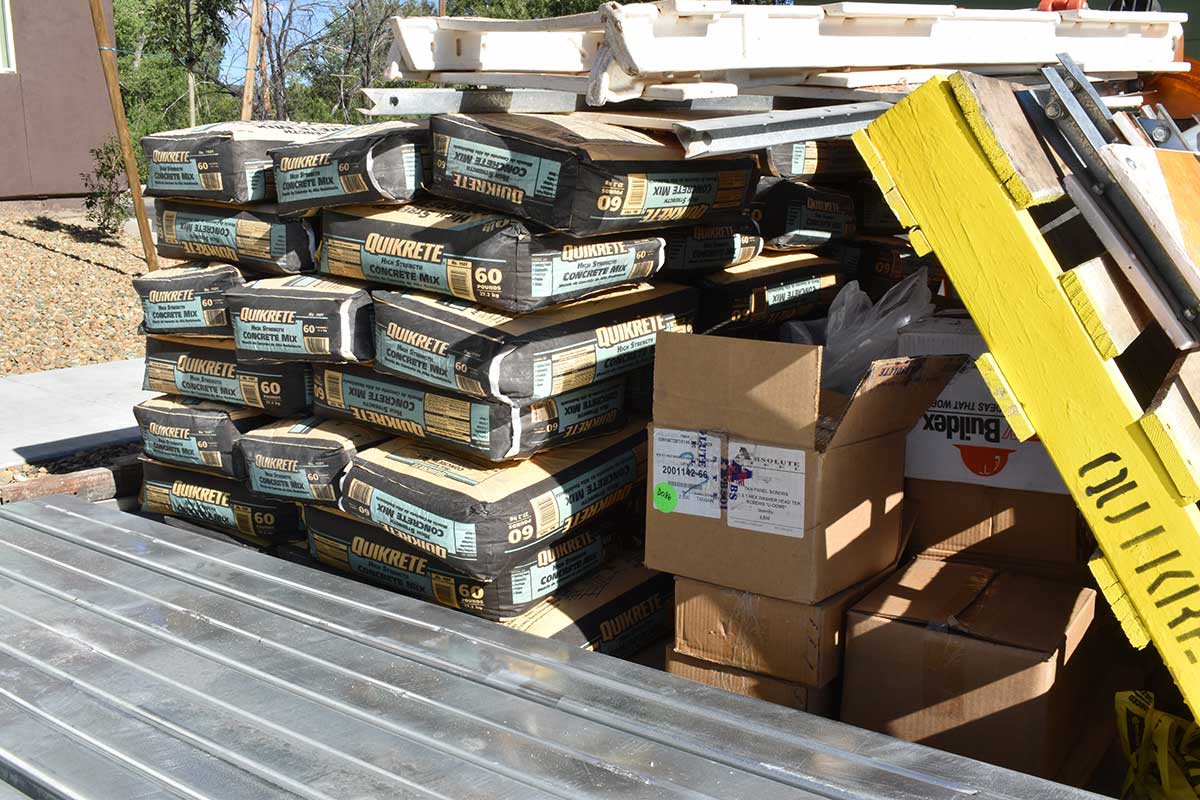 This concrete is for the caissons that will hold the columns in place. Depth of caissons can vary from site to site based upon frost depth, soil, and/or seismic conditions. This particular kit that we’re seeing with the concrete is for a 4-space unit. Caissons: Here is some info on what a caisson is – https://www.absoluterv.com/metal-building-kits/concrete-foundation/
 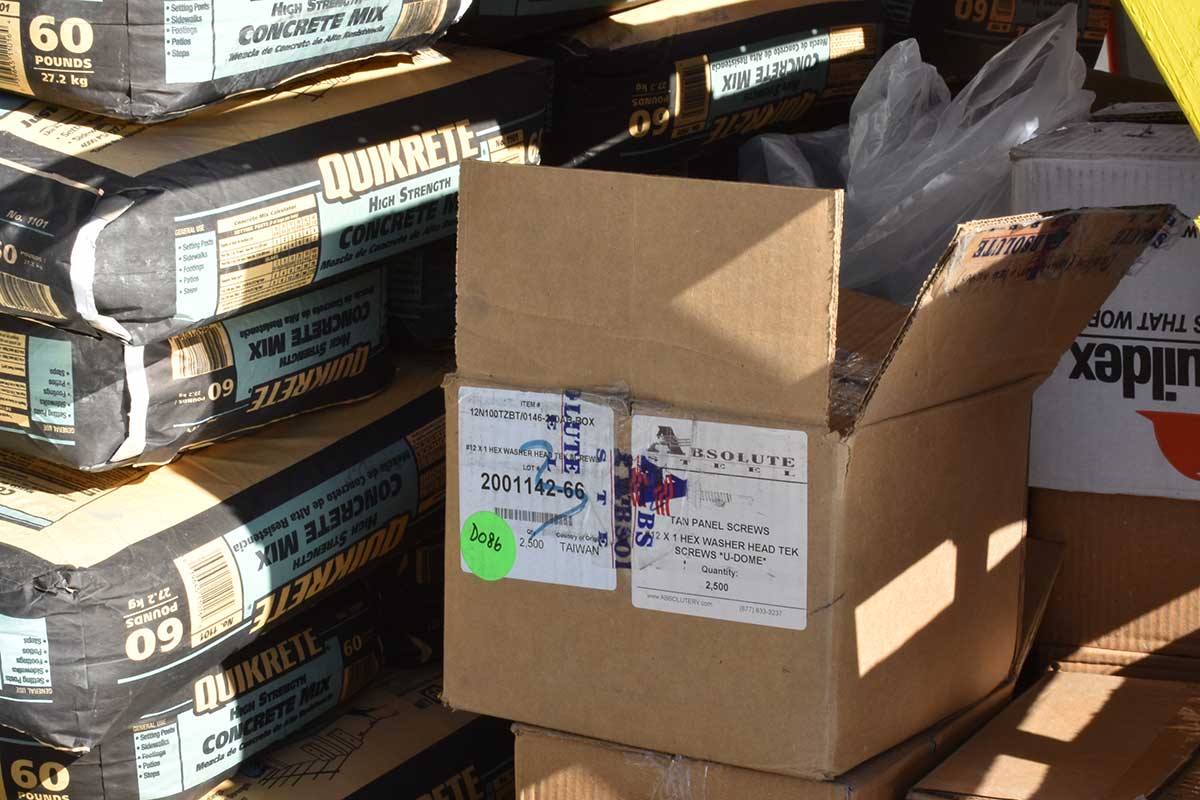 Kits include hardware. No special tools are needed for installation. Everything goes together with a ratchet, wrench, and a power driver for the self-tapping screws. In some cases, one might need special digging tools for the concrete caissons depending upon the situation.
2. Start with the caissons placement…
 The above picture shows a completed frame (before panels are installed). In the background you can see the next kit in the installation order on this property. The piles of dirt and cones are where the caisson holes have been dug for a 4-space unit. Depth and size of caissons will be determined by a licensed structural engineer & local building codes
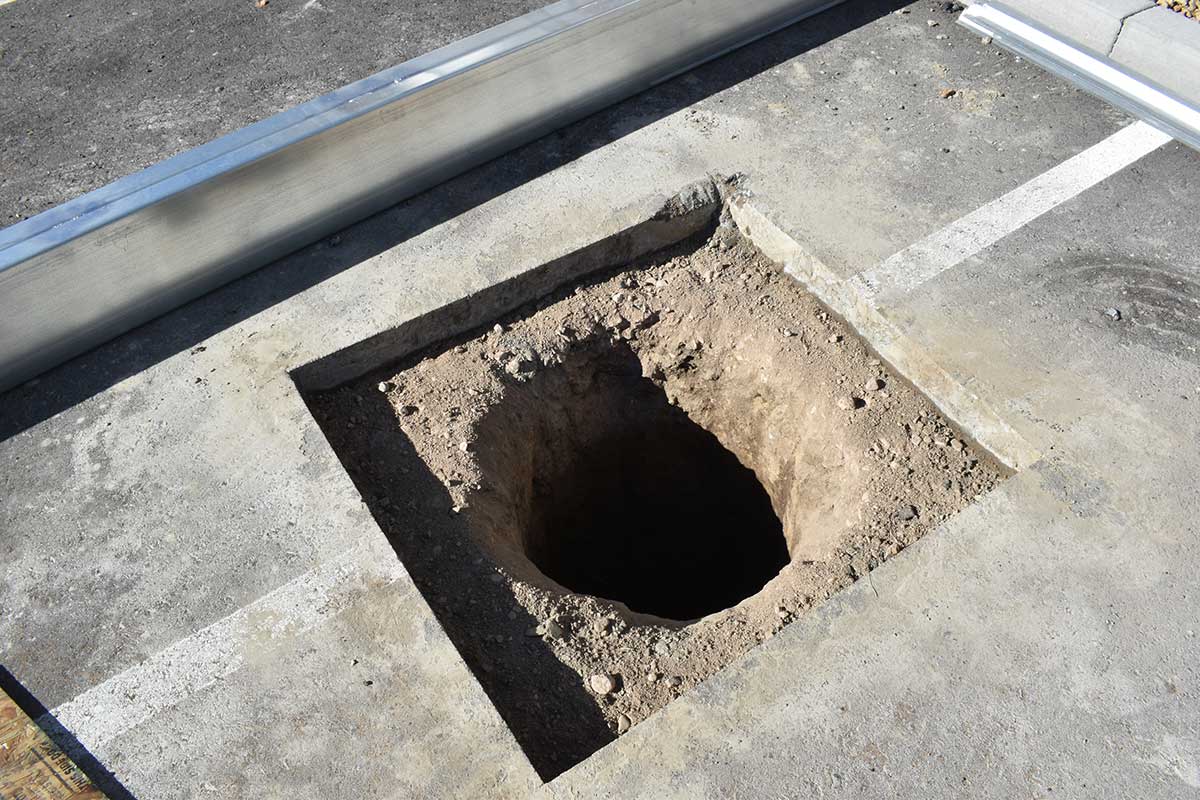
- Caisson hole. This size is roughly 16″ x 16″ x 2.5′ to 3′ deep. I took this pic, but didn’t measure. This is for that same 4-space unit as above.
- They used a saw to cut the concrete to access dirt.

 Above: In addition to the mounds of dirt and cones marking the build area, this builder covered the holes with plywood and then put a heavy frame part over the top of that. This is an apartment property that is occupied, so they had to make sure things were safe for the kids and other tenants.
3. Setting the Columns
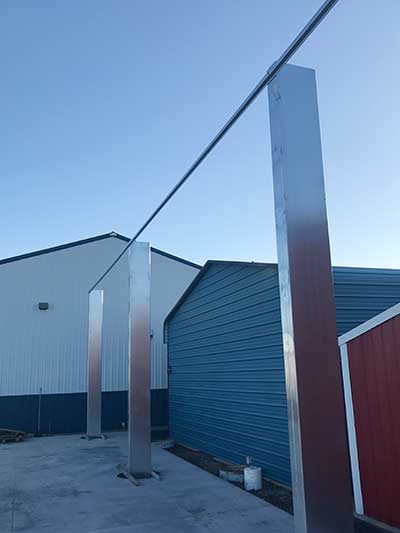
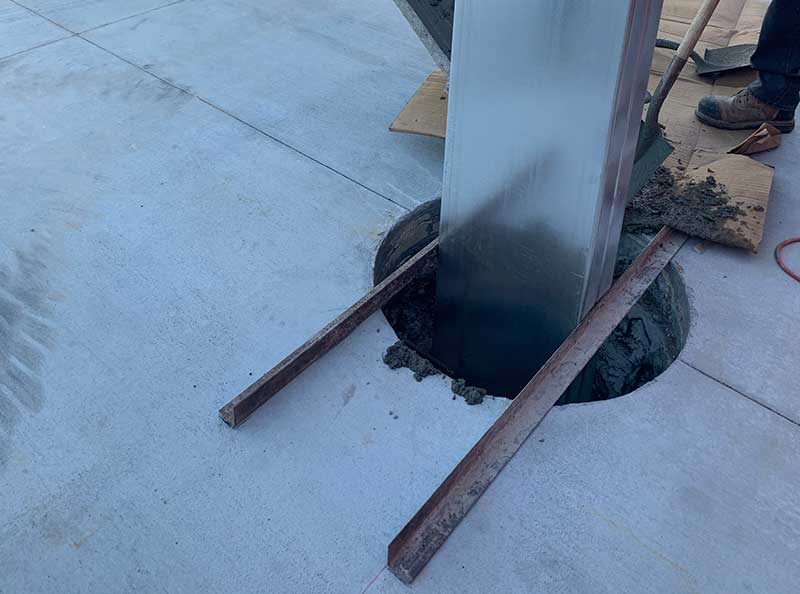
The key to correctly install your cantilever carport is to get the columns set right. If you can build a backyard fence you can assemble a cantilever carport system – “semi or full cant”. Your columns have to be lined up with one another and there’s simple ways and hard ways to do that. Below is an 8-space system utilizing four columns. NOTE: This is a different project than the above apartment parking project and is added here for benefit of example. On this job the column hole cutouts were made before the pour of the slab using round Sonotube. If installing after the slab is already poured, you can come in after the pour and saw cut a square (as in the installation project above). Either way you must have access to native grade so you can penetrate down the required depth. 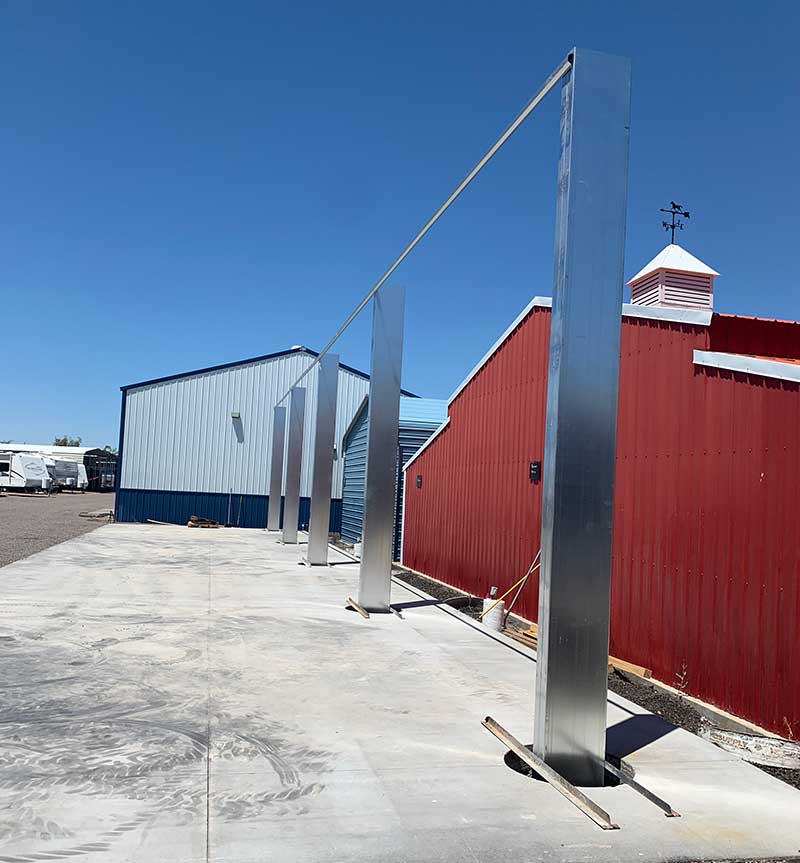 Set your end columns just as you would set the corner posts to a backyard fence. All the columns then align with each other and are plumb – level in all directions.
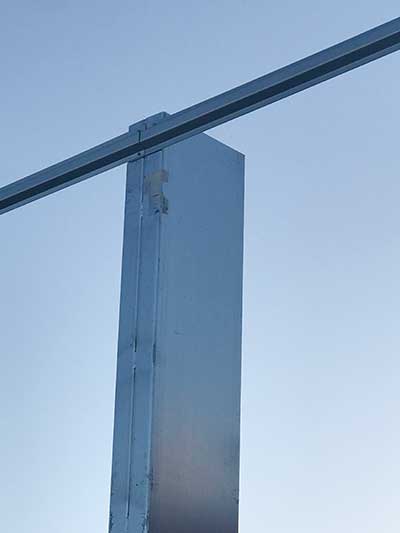
 Ending off, we mound the concrete up a bit around each beam. This sheds any water that might expose a column corrosion. We also run a bead of waterproof calk where the beam comes into contact with the concrete mound. Together with the G90 galvanized finish which is standard in our steel, you’ve got an installation that will far exceed our frame warranty.
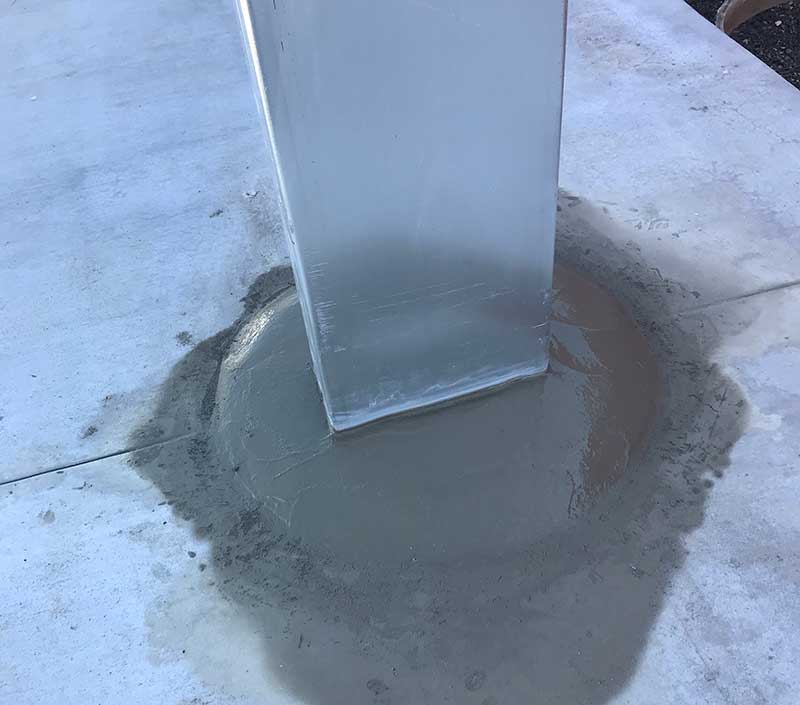
4. Frame installation (below)
- Detailed instructions come with the kit. This is just a rough overview to give people the idea of how it’s done.
- All frame sections are screwed and bolted together. No welding needed for the customer.
- Customer does have to paint the frame though. Note the brown painted vertical posts and exterior of the roof frame.
- Frame ships from the factory either plain galvanized or black bare steel. No painting or powder coat from the factory. Suggest customer paints (if they want – totally optional) once the frame is installed like below.
- Frame painting is optional. The plain galvanized steel is weather and corrosion resistant. However, the unpainted galvanized can cause some sun glare. Besides, painting just looks good.
- Panels come with high quality paint in a variety of colors. See: https://www.metalroofingsource.com/metal-roofing-materials/multi-purpose/
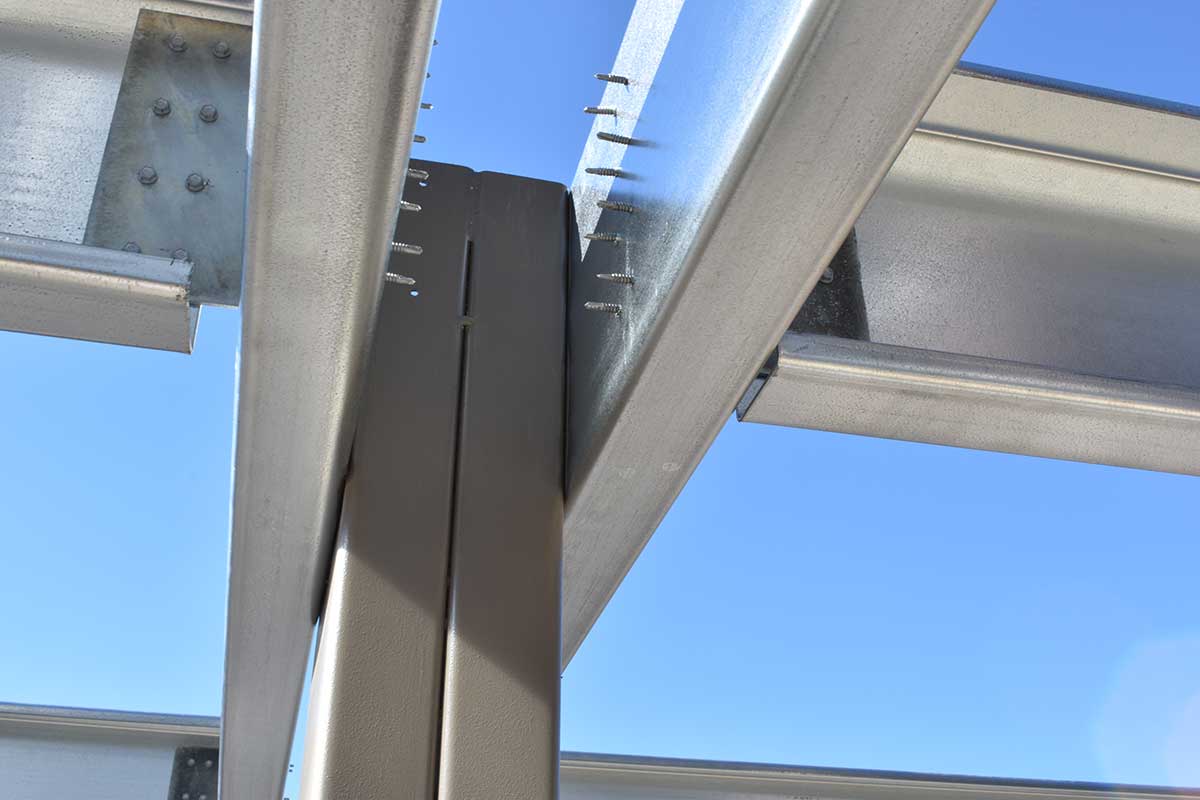 Assembled using self-tapping screws (Provided with kit).
  Also uses nuts and bolts for assembly.
 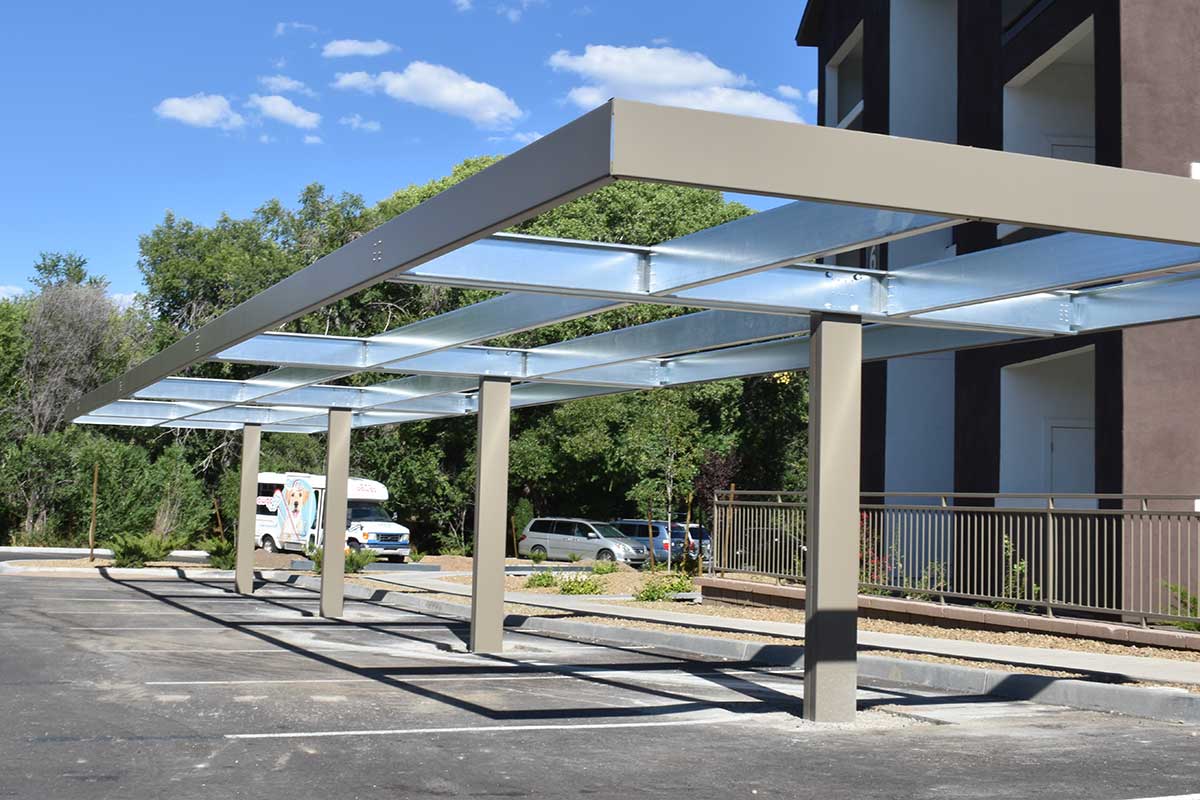 Last Step: Add Panels & Trim Panels are available in a variety of colors. Long warranties, etc. See: https://www.metalroofingsource.com/metal-roofing-materials/multi-purpose/